Create Your Own Press-On Nails
I might be alone, but when I’m shopping for press-on nails I have a hard time finding designs I actually want to wear. While I don’t necessarily just want plain color nails, I also don’t want the over-designed nails with all of the charms and childish designs. After looking at multiple brands and expressing my disappointment to my poor husband, he said, “why don’t you just make your own?”. Since most of my hobbies and projects start with “how hard could it be?”, I didn’t see why this one should be any different.
Supplies
There is a bit of up-front cost here, but making your own nails will be cheaper in the long run. I was able to purchase the items I didn’t already have on Amazon and they arrived within a couple days. I have created an Amazon List with all of the items I purchased or you can refer to the list below and purchase the items from your chosen retailer.
clear press-on nails
nail file
dremel tool (optional, but recommended)
gel polish (including top coat)
gel polish curing light
alcohol
polish brushes in various sizes (for designs)
embellishments - rhinestones, charms, stickers, glitter, etc.
nail stands
completed nail storage (if you are going to do sets ahead of time and store them until you’re ready to apply)
storage container for all of these supplies
There are plenty of gel polish sets available online, but I highly recommend that whichever brand you choose to buy, you also buy that brand’s curing light. That is the only way you know that the polish you purchased will be properly cured. When you are ready to start designing and painting your nails, make sure you have a large work space to spread everything out and it’s well lit. It’s also helpful to have some inspo photos on hand so you have an idea of what you want to do. I created a whole board on Pinterest for nail inspo, but use whatever platform you desire.
Instructions
Pick out the correct size nails and file them to fit your nails perfectly. If there is a small tab on the tip, file that off as well. Place the nails on the stand and then use either a nail file or dremmel tool to rough up the top of the nail that will be painted. Do this for all ten nails.
Brush off any remaining dust from the nails and begin applying your gel polish. Thin layer of base coat. Cure. Thin layer of color. Cure. Second thin layer of color. Cure. Keep in mind that dark colors may need longer curing times. The polish will be tacky after curing, that is normal.
If you are adding embellishments to your nails, this is the point in the process where you would add them. I use super glue for rhinestones and charms, but there is also gel glue you can use if you prefer. If you choose to use super glue, make sure to let it mostly dry before moving on to the next step.
Add a thin layer of top coat to each nail and then cure. Wipe each nail with alcohol and you are now ready to apply your creations! Check out this article for instructions on applying them so they stay on for weeks.
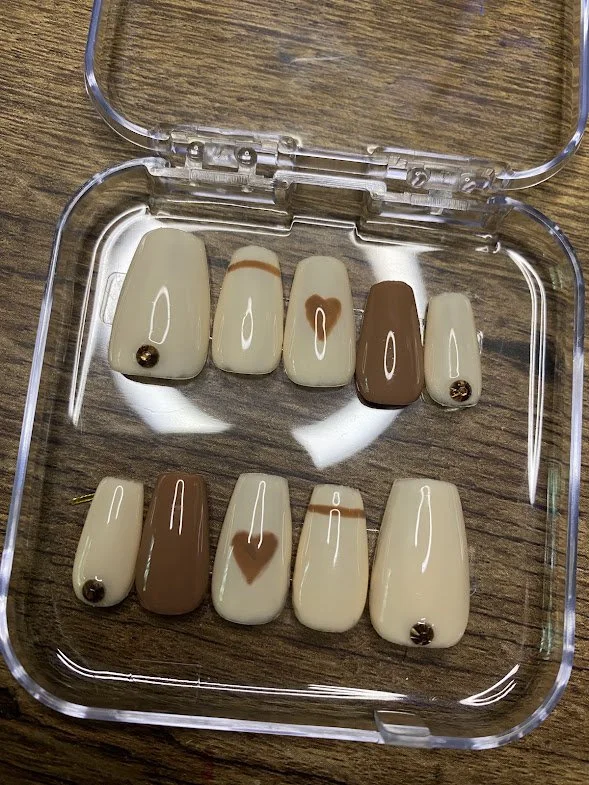
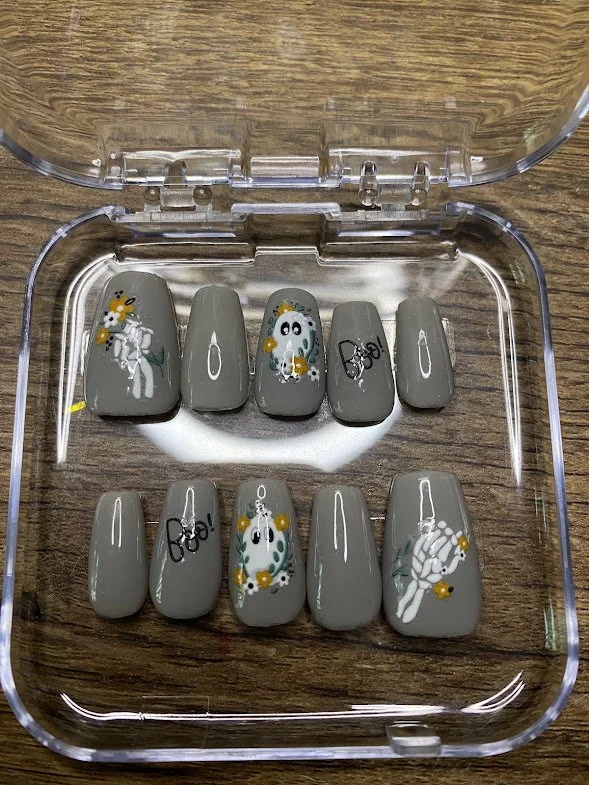
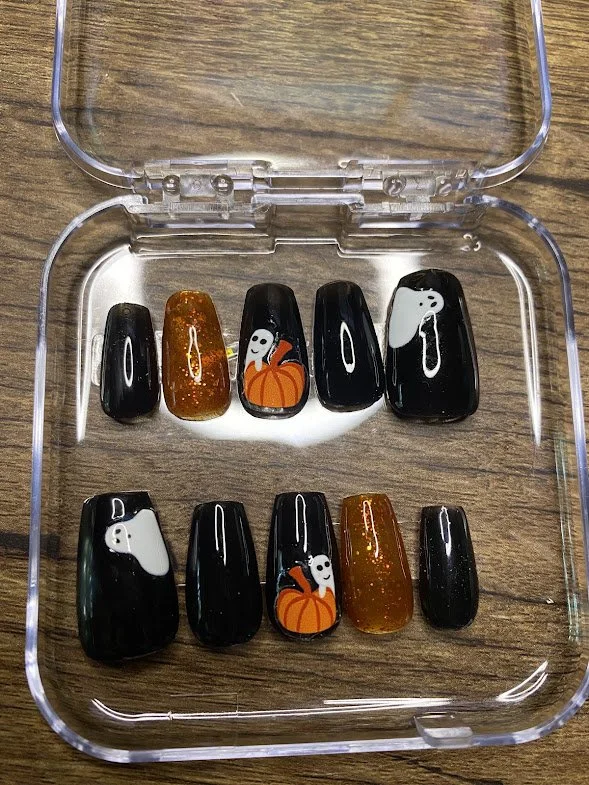
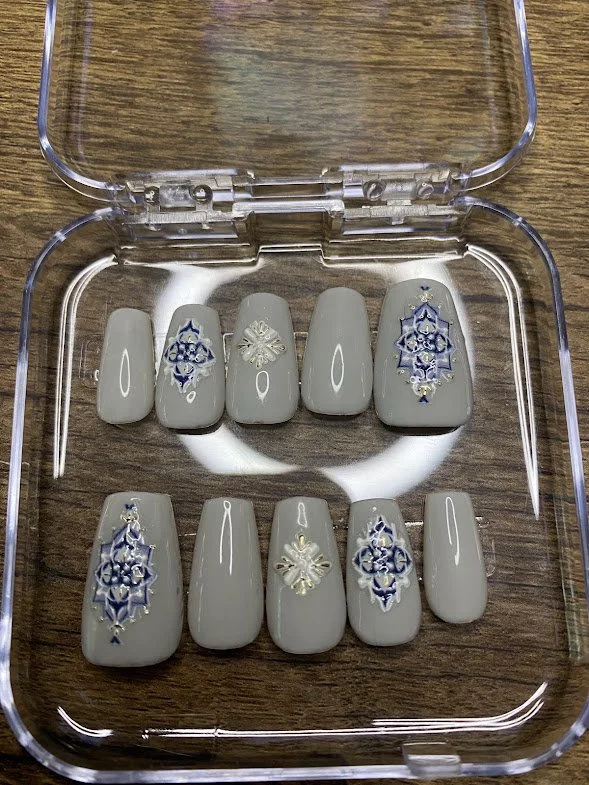
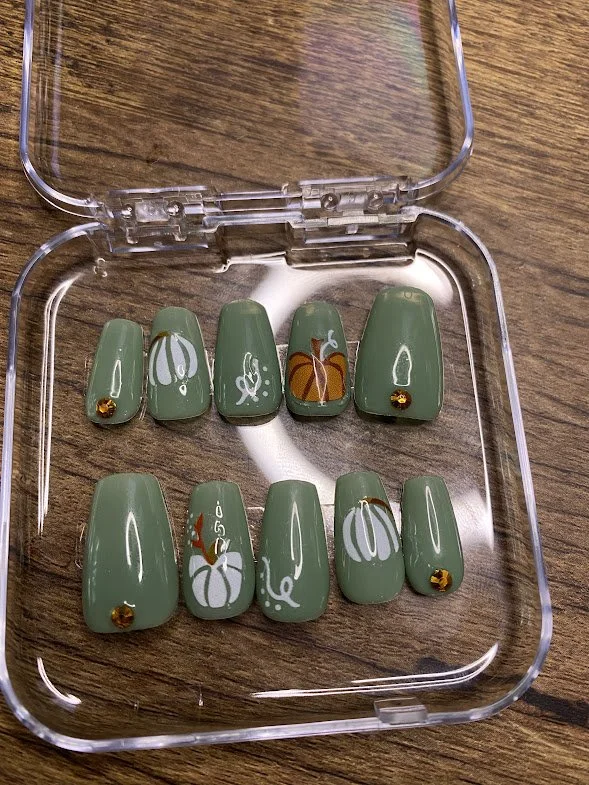
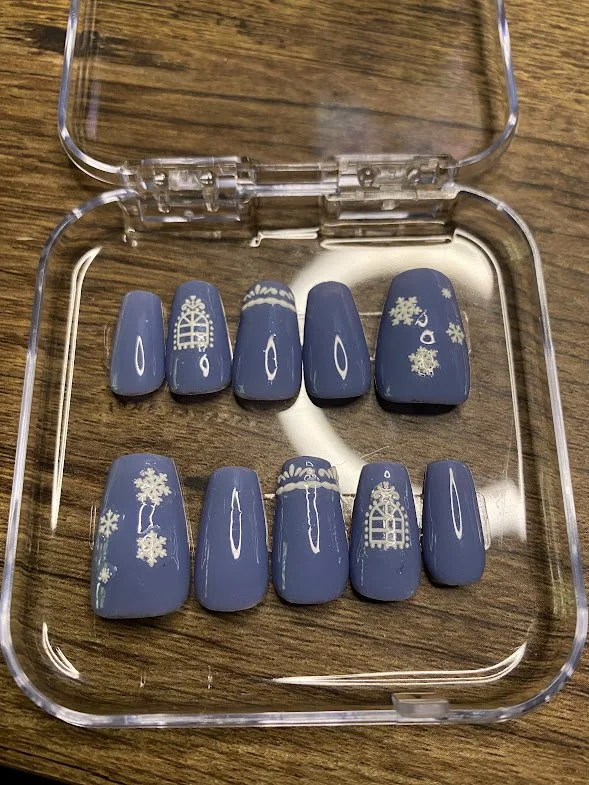
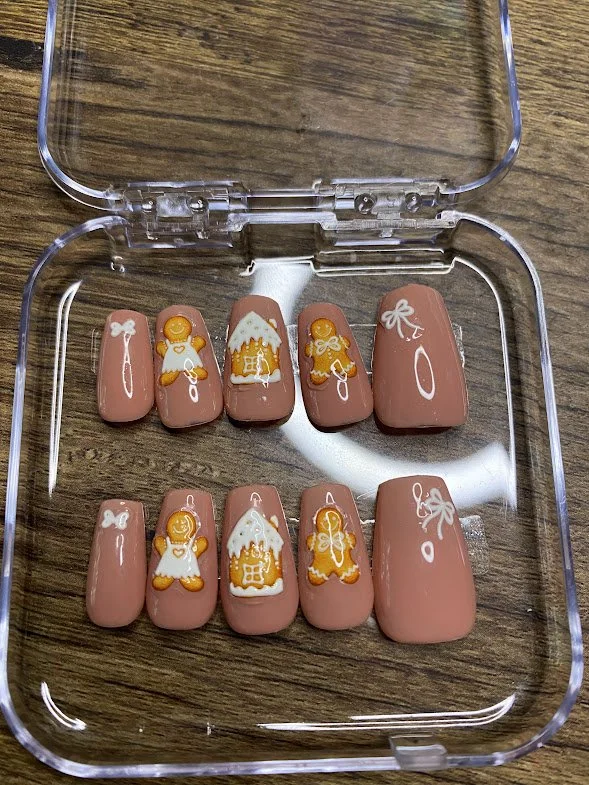
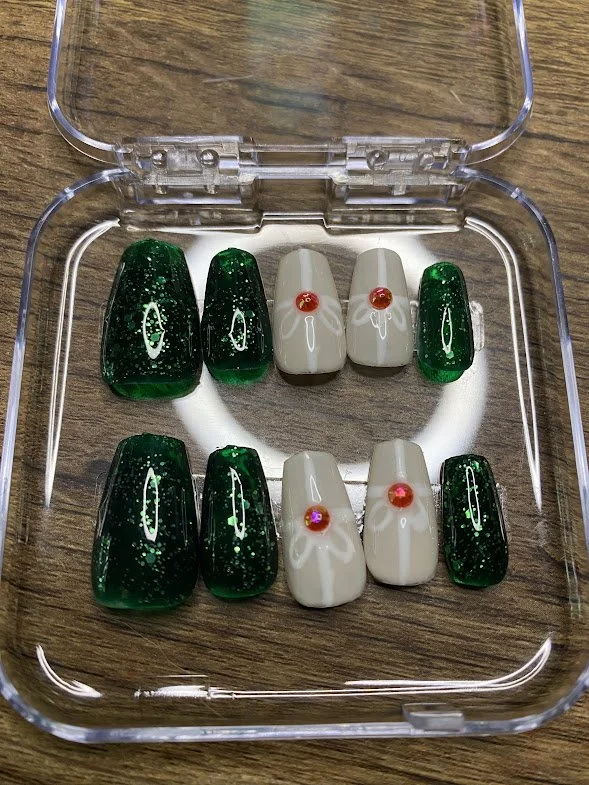
Final Notes
I did not include any embellishments on the Amazon shopping list since each misadventurer will have different tastes and preferences. Just do an Amazon or internet search for “nail stickers”/”nail gems”/”nail art” and I can almost guarantee you will find something you like. Let me know in the comments below if you try creating your own press-ons and show me your creations!
Until Next Time,
Happy Painting
