Clothing Upcycle - Sweater Pillow
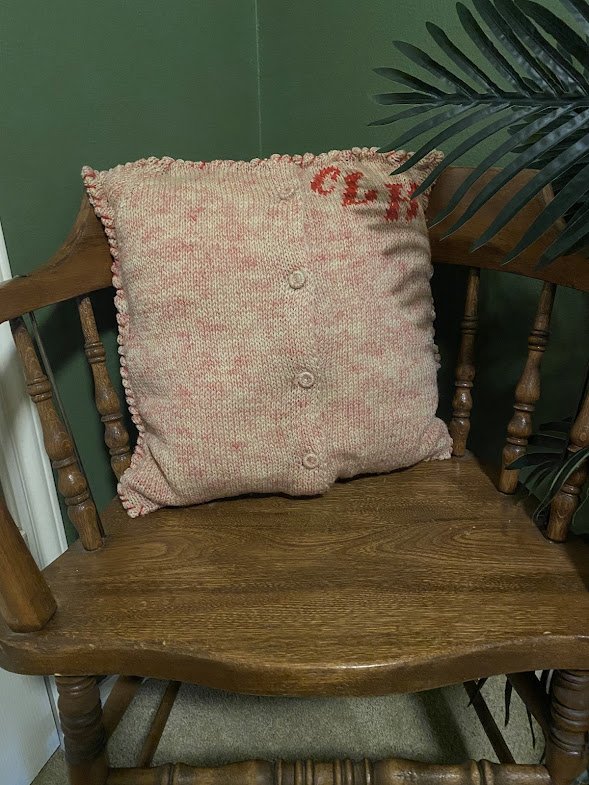
Clothing upcycles are a great way to use old clothing that you don’t want to get rid of. I was given a collection of clothing from a coworker and given creative freedom to make whatever I wanted. One of the items was an adorable pink cardigan with red initials in it. I wanted to make it into a throw pillow, but I procrastinated because I wasn’t sure how to get started. Finally sat down and just powered through it and I am so excited with how it came out! Let’s talk about how I did it so you can try it for yourself.
Materials
The materials you need will depend solely on how you plan to attach and finish the edges of the garment. I used yarn and a yarn needle to hand stitch the edges, but I have also seen videos where hot glue or a sewing machine were used. Once you know how you want to finish the edges, you can gather all of the supplies necessary for that, along with your pillow and sweater. Pillow inserts can be found on Amazon or you can purchase a cheap throw pillow to use instead. Additional materials needed for the hot glue or yarn stitch methods include sewing pins and fabric scissors. If you are planning to add any embellishments to the sweater, make sure you have all of the necessary supplies for that as well.
Method
Again, this will depend on how you are attaching your edges. If you are planning to use a sewing machine, you will need to sew the edges first before putting the pillow in and hand stitching the final gap closed. If you are planning to use hot glue or yarn, you can follow my “method”. I use that word loosely because, let’s be honest, I was making this up as I went. I started by putting the sweater on the pillow and lining the buttons up where I wanted them to fall, which for me was down the middle. I also knew I wanted to include the initials that were on the upper left side of the cardigan so I moved the pillow as far up in the sweater as I could. This does create a gap from the neckline, but we will fix that momentarily.
Once you have the sweater lined up on the pillow where you want it, start manipulating the neck hole to get it closed and secure it with sewing pins. To get finished edges, you will want to fold the original edges of the sweater inward and then lay the two sides together and secure with a pin. Now that you have the neck hole closed, you can continue across the top of the pillow to create a uniform seam. After that, you can work around each edge of the pillow to continue that uniform edge on all 4 sides. Cut off excess fabric and continue to manipulate and pin until you have a product you are happy with. When you’re ready, you can go in with the hot glue or yarn and move around each edge to secure the seams.
Other Notes
Overall, this project took me about an hour, but that is partially because I was working it out as I went. I bought a $4 throw pillow from a craft store and I already had the red yarn I used for the seams so this was a very cheap and easy project. Don’t forget to check out the rag wreaths I made with some of the other items from this coworker. What projects have you done with your old clothing? Let me know below!
Until Next Time,
Happy Crafting
