Clothing Upcycle - Rag Wreath
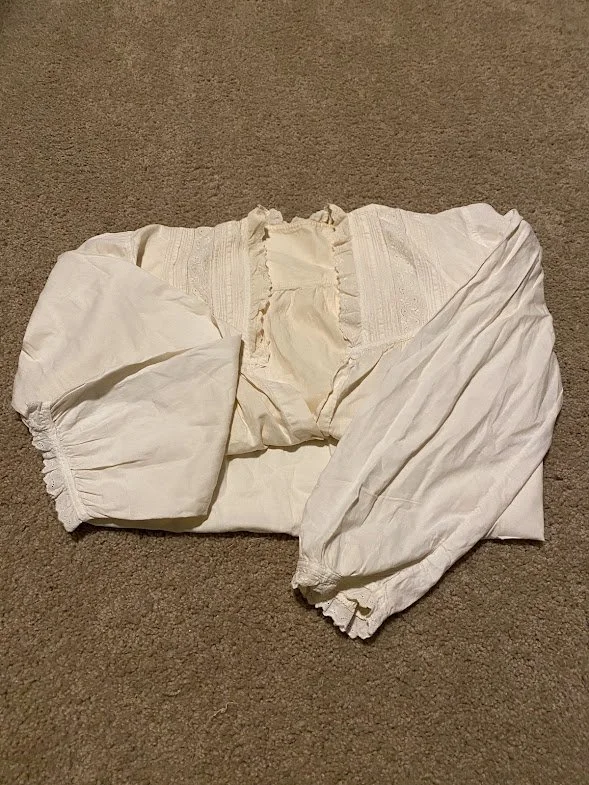
A surgeon I work with gave me some of her grandmother’s old clothes to be creative with. Inside, I found a cardigan, two nighties, a vest, a scarf and what appears to be a handkerchief. I decided to take the scarf and both nighties and make rag wreaths like ones I had seen online. Though I’d never made one before, it seemed easy enough. First I had to go shopping. Each wreath calls for six different patterns of fabric and I only had one for each. Both nighties were white so I decided to make a spring/summer wreath out of those and the scarf was a red and green plaid pattern that screamed Christmas. Once I picked out all of my fabrics I cut them all into 9” x 3” strips and then set to work tying the fabric onto the wreath form. It took me about two hours (not including the shopping time) to make each wreath and I think the results speak for themselves.
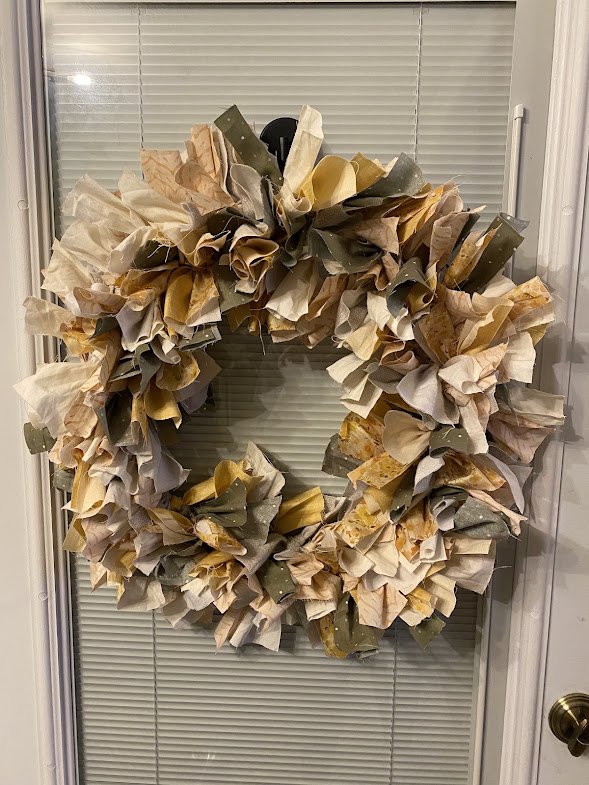
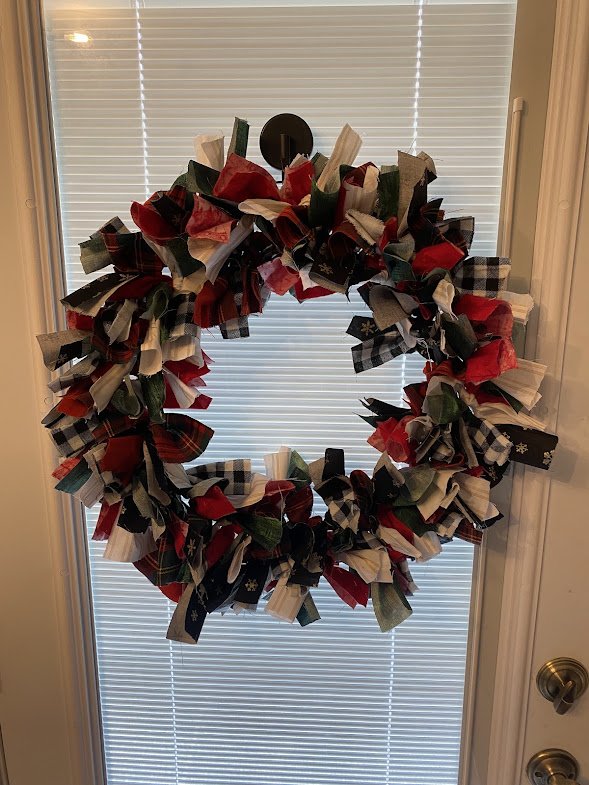
Now that you know what they look like, would you like to make one? Let’s go over the step-by-step instructions!
Gather Supplies
You will need scissors, ruler or measuring tape, 18” wire wreath form and six different fabric patterns. When picking out your fabric, remember that patterns can go together as long as they are in the same color scheme. Cotton or flannel is recommended since it’s both cheaper and easier to work with than stretchier fabrics. I usually start with a busy and bold pattern and then find other fabrics that compliment that one with less busy patterns. I purchased ½ yard of each fabric and cut the whole piece into strips. This is also a great way to utilize clothing that is no longer worn such as baby clothes or old blankets that are no longer used.
Cut Your Fabric
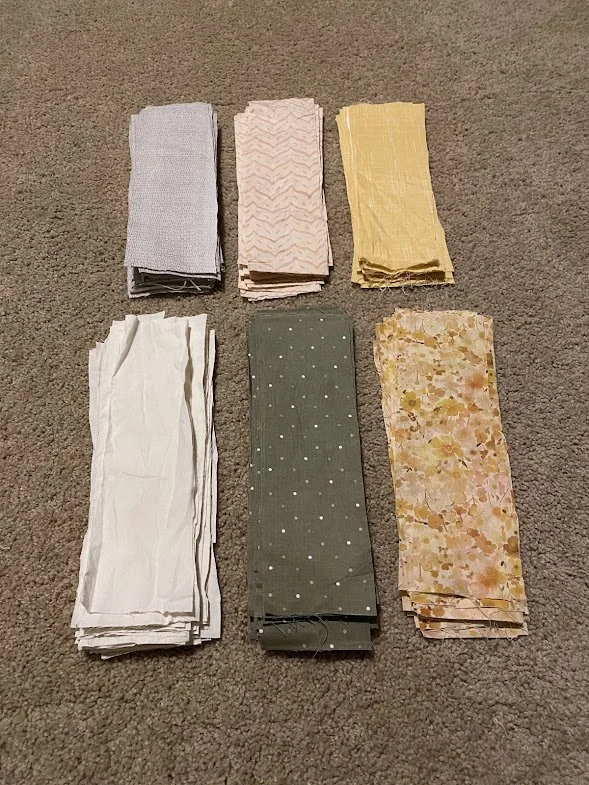
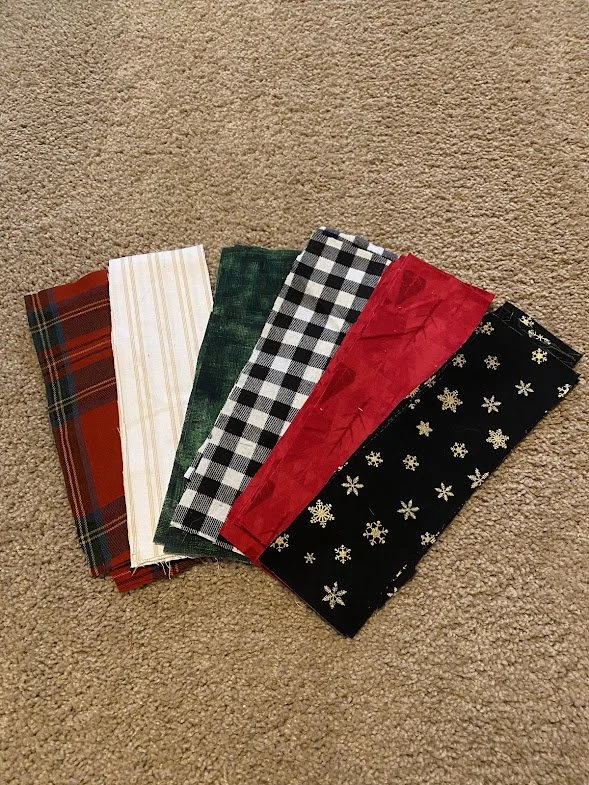
Cut your fabric into 9” x 3” rectangles and arrange each pattern into a pile. Once you have your six piles, arrange them in an order you want on your wreath. If it doesn’t matter to you, then proceed to the next step. For me, I didn’t want certain fabrics touching each other directly so I arranged them in an order I liked and placed them in a large basin to help keep them sorted and within reach.
Start Tying Your Fabric
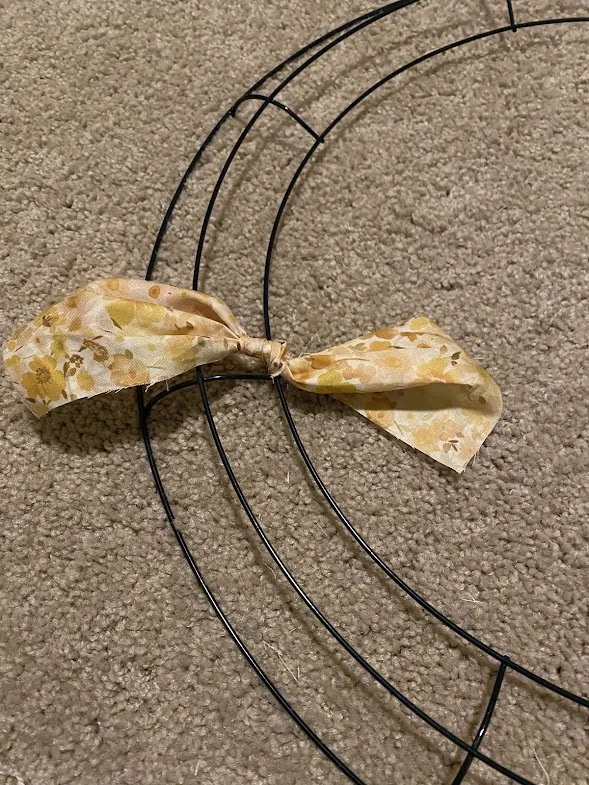
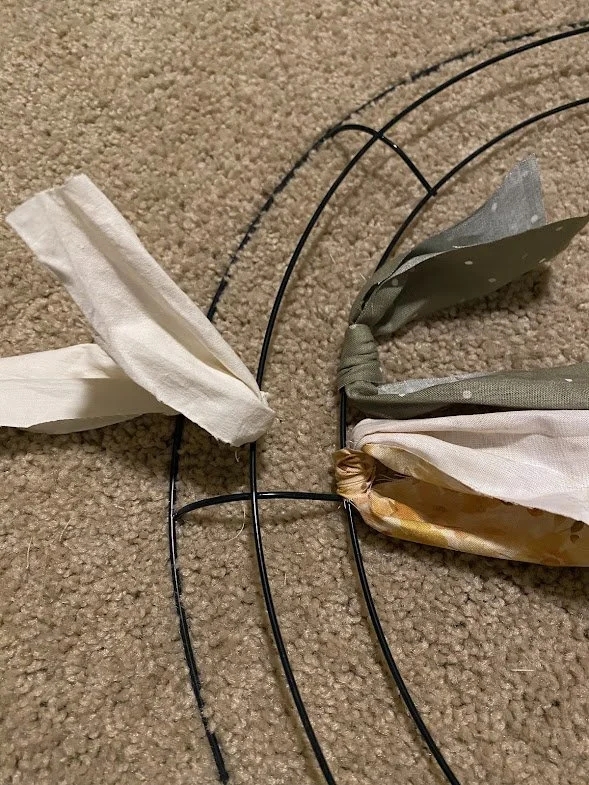
Now you want to grab your wreath form and start tying the fabric strips onto the inner and middle wires only. You can use the outside wire if you really want to, but it will make it harder to hang later. The strips fluff out enough that the outer wire is covered and won’t be seen. With each strip you tie, move the knots down to touch each other and then continue around the whole wreath form. This is where you get to be creative! You can tie these strips however you would like and in whatever order you would like. You can switch up which fabrics are on which wire in each section or you can color block each section with a specific pattern. Your method for this step will all depend on the ultimate look you are going for.
Hang and Fluff
I personally found it easier to hang the wreath up and then fluff out the fabric. You certainly don’t have to hang it first, but it helps hold things steady while you fluff out the fabric and get the exact look you had in your mind. Feel free to add any additional decorations you like for different holidays or occasions!
Notes
There were some strips left over. I put them with the rest of my fabric scraps in case I want to use them for something later, but you could always go back and add more strips to the wreath as space allows.
I found the wreath forms are cheapest at Dollar Tree
Always check the clearance section when fabric shopping, you never know what may spark your creativity.
If you are using clothing or other material this is stretchy, be careful when tying them on the wreath form as they can get stretched out easily.
Let me know below if you’ve made a rag wreath before, what you used and how it turned out!
Until Next Time,
Happy Crafting
